ackground on the repair of turbine main shaft wear
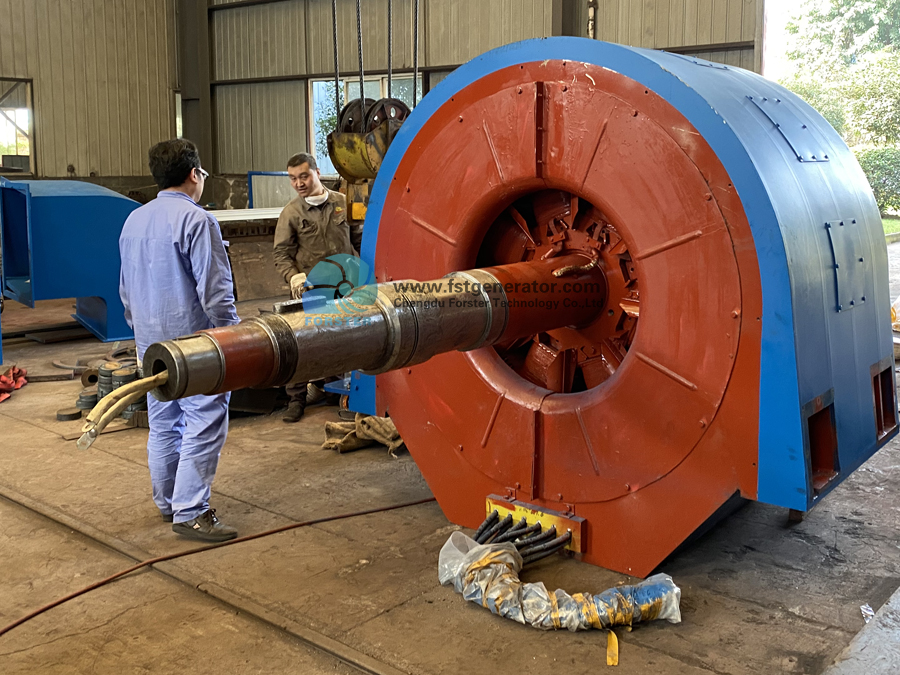
During the inspection process, the maintenance personnel of a hydropower station found that the noise of the turbine was too loud, and the temperature of the bearing continued to rise. Since the company does not have the shaft replacement conditions on site, the equipment needs to be returned to the factory, and the return cycle is 15-20 days. In this case, the enterprise equipment management personnel came to us, and hoped that we could help them solve the problem of the wear and tear of the main shaft of the turbine on the spot.
The method of repairing the wear and tear of the main shaft of the turbine
The carbon nano-polymer material technology can solve the wear problem of the main shaft of the turbine on the spot, without secondary processing of the repaired surface, and the whole repair process will not affect the material and structure of the shaft itself, which is safe and reliable. This technology can also realize online repair without a lot of disassembly, only the repair part can be disassembled, which greatly shortens the downtime of the enterprise and reduces the losses caused by sudden or major equipment problems.
In order to serve enterprise users more conveniently and efficiently, we innovatively use Internet technology to create a large database of equipment problems and solutions that the majority of users are concerned about, and use AR intelligent technology to guide users to implement rapid maintenance, which can be used in a short time. Users provide scientific and reasonable solutions and operating specifications.
The specific operation process of the turbine main shaft wear repair
1. Use oxygen acetylene to oil the surface of the worn parts of the turbine main shaft,
2. Use a polisher to polish the surface rough and clean,
3. Reconcile Soleil carbon nanopolymer materials in proportion;,
4. Apply the blended material evenly to the bearing surface,
5. Install the tooling in place and wait for the material to cure,
6. Disassemble the tooling, verify the repair size, and remove the excess material on the surface,
7. Reinstall the parts, and the repair is completed.
Post time: May-13-2022

